Here are 100 craft tips to boost your production and creativity! I’ve been crafting, like, FOREVER – and these are things I’ve learned to keep the momentum going strong.
In the past, I used to be unorganized, very haphazard. I thought it was cute. Then I had a mind shift from a kooky crafter to a professional designer. That’s where these tips came in!

Once I redid my studio, I REALLY got into it.
See my new studio here – I still need toshow the current version, but it looks a lot like this!
I separated everything by category. My goal for these is to help you be efficient, to open more space for creativity.
Hope this list helps!

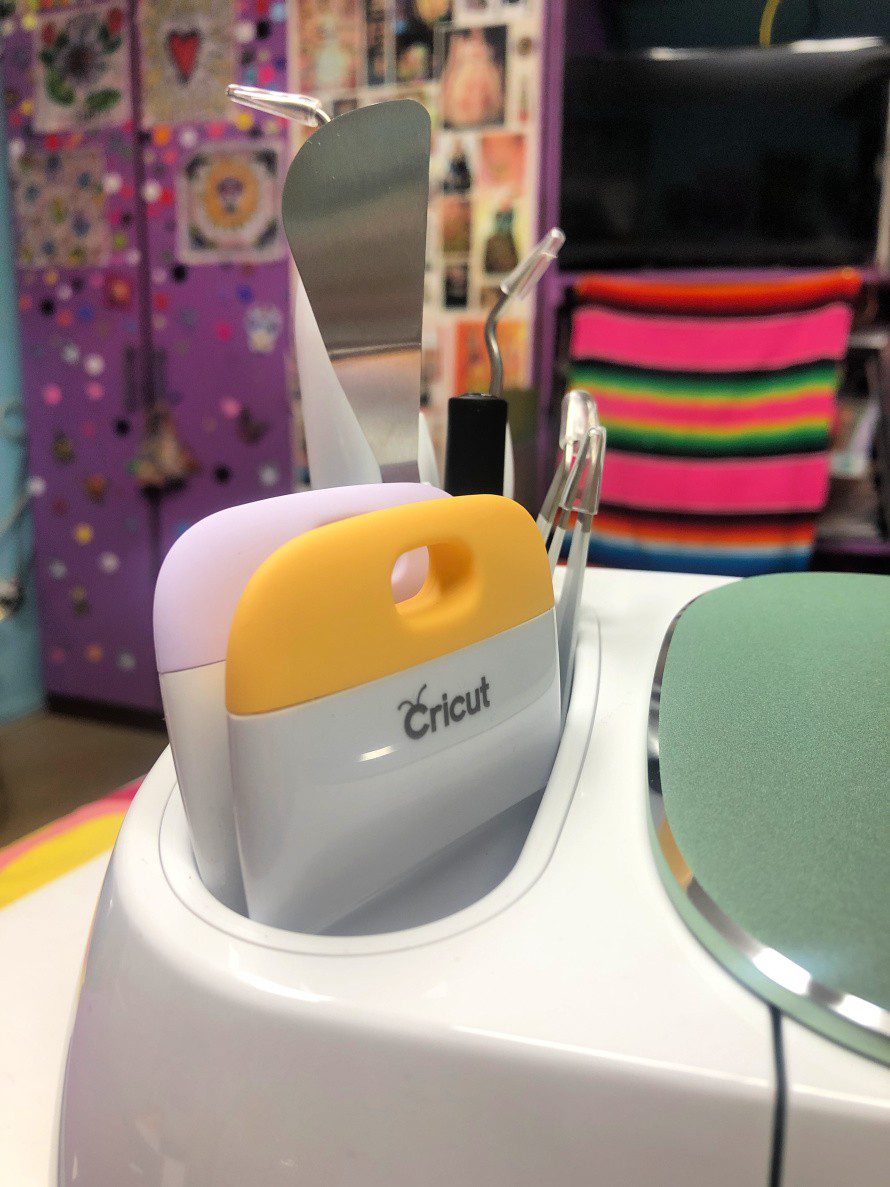
Tools and supplies tips
-
Invest in one high-quality tool instead of several cheap ones. THey last longer and save time because they work better!
-
Clean tools immediately after use to extend their life. Keep wipes close by for this.
-
Label scissors by purpose so fabric and paper blades stay sharp.
-
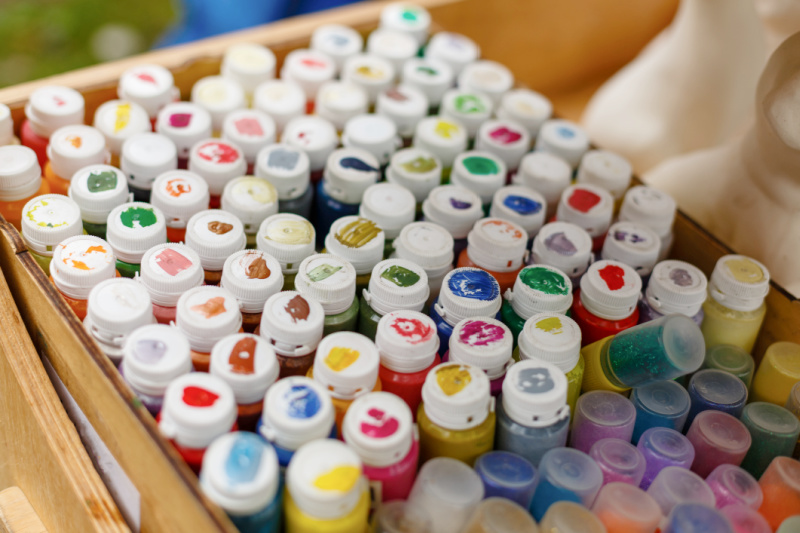
Store paints upside down to reduce air bubbles, if possible!
-
Keep a magnet nearby to catch stray pins and needles.
-
Use makeup brushes and even wipes for dusting off projects. Great for ceramics!
-
Sharpen rotary blades monthly.
-
Keep a basic toolkit in every crafting space, even one for on-the-go.
-
Buy neutral supplies in bulk to save money. This is stuff like basic paint colors, varnish, glues, etc.
-
Test new tools on scrap materials first. ALWAYS!!
-
Store supplies in labeled bins. Sort by category: Fabric, mixed media, trims, etc.
-
Clear containers make it easier to see what you own. Stick with it. everything in its place!
-
Keep frequently used tools within arm’s reach.
-
Use drawer dividers for small embellishments.
-
Create a “current projects” bin to avoid clutter.
-
Label everything, even if you think you’ll remember.
-
Hang tools vertically to save desk space.
-
Use photo boxes to organize themed supplies.
-
Declutter seasonally to rediscover forgotten items.
-
Keep a donation box for supplies you no longer love.

-
Always cut cardstock with the grain when possible.
-
Store paper flat to prevent curling.
-
Use a bone folder for crisp folds.
-
Test adhesives on scraps to avoid warping.
-
Keep wax paper on hand to protect surfaces.
-
Use washi tape or low tackmasking tape for temporary placement.
-
Rotate cutting mats to extend their life.
-
Stack layers before cutting for consistency.
-
Keep white cardstock in multiple weights.
-
Use digital templates to save paper.

-
Prewash fabric to prevent shrinking later.
-
Change needles often for cleaner stitches.
-
Use clips instead of pins on thick fabrics.
-
Press seams as you sew for professional results.
-
Store fabric rolled to prevent creases.
-
Keep a lint brush near your machine.
-
Test stitch length before starting a project.
-
Match thread color slightly darker than fabric.
-
Use scrap fabric to practice new techniques.
-
Keep seam rippers in every workspace.
-
Start with a limited color palette.
-
Work from light to dark layers.
-
Let layers dry completely before adding more.
-
Use old credit cards for texture effects.
-
Seal layers if working with wet media.
-
Keep a spray bottle nearby to rehydrate paint.
-
Use gesso to prep surfaces properly.
-
Test color mixes on scrap paper.
-
Embrace imperfections as part of the art.
-
Clean brushes immediately after use.

-
Use the correct mat strength for each material.
-
Replace blades regularly for clean cuts.
-
Secure materials with washi tape if needed.
-
Mirror designs for iron-on projects.
-
Keep mats clean with gentle soap and water.
-
Do test cuts before committing.
-
Store dies on magnetic sheets.
-
Use shims for detailed cuts.
-
Keep cutting settings notes for reference.
-
Label scraps by material and thickness.

-
Use a bead mat to prevent rolling.
-
Keep pliers dedicated to jewelry only.
-
Measure twice before cutting wire.
-
Work from the center outward for symmetry.
-
Store beads by color family.
-
Use jump rings properly to avoid gaps.
-
Invest in good lighting for detail work.
-
Keep findings organized by size.
-
Test clasps for strength before selling.
-
Photograph finished pieces immediately.

-
Price for profit, personality, and experience, not just materials.
-
Track time spent on each project.
-
Photograph work in natural light.
-
Write product descriptions before listing.
-
Keep receipts for taxes.
-
Batch similar tasks to save time.
-
Start small and scale intentionally.
-
Test products before selling in bulk.
-
Keep branding consistent across platforms.
-
Listen to customer feedback.
- Develop new product consistently to keep your look fresh.

-
Create even when you feel uninspired.
-
Keep an idea notebook nearby.
-
Take breaks to avoid burnout.
-
Try one new technique or workshop each month.
-
Stop waiting for perfection.
-
Use prompts to spark ideas..
-
Revisit old projects with fresh eyes
-
Limit comparison to other creators.
-
Schedule creative time like an appointment.
-
Trust your creative instincts.
Time-saving and workflow tips

-
Prep supplies before starting projects.
-
Batch cutting and prep work.
-
Clean as you go.
-
Keep a project checklist.
-
Set time limits to stay focused.
-
Use templates whenever possible.
-
Keep go-to color palettes ready.
-
Photograph steps as you work.
-
Save notes from past projects.
-
End sessions by setting up the next one.
What tips do you have? Did you like this list, should I make more?
Trending Products

Scrapbook Tape, Double Sided Tape R...

Glue Point Clear Balloon Glue Remov...

Craft Knife Hobby Precision Knife S...

40 Rolls Washi Tape Set – 15 ...

Glue Dots, Craft Dots Dot N’ ...

Fiskars Sewing Kit, Gifts for Mom, ...

Wikki Stix for Doodlers – Kid...

Arts & Crafts Supplies Kits &#...

5 Pcs Pattern Tracing Stylus, Ball ...