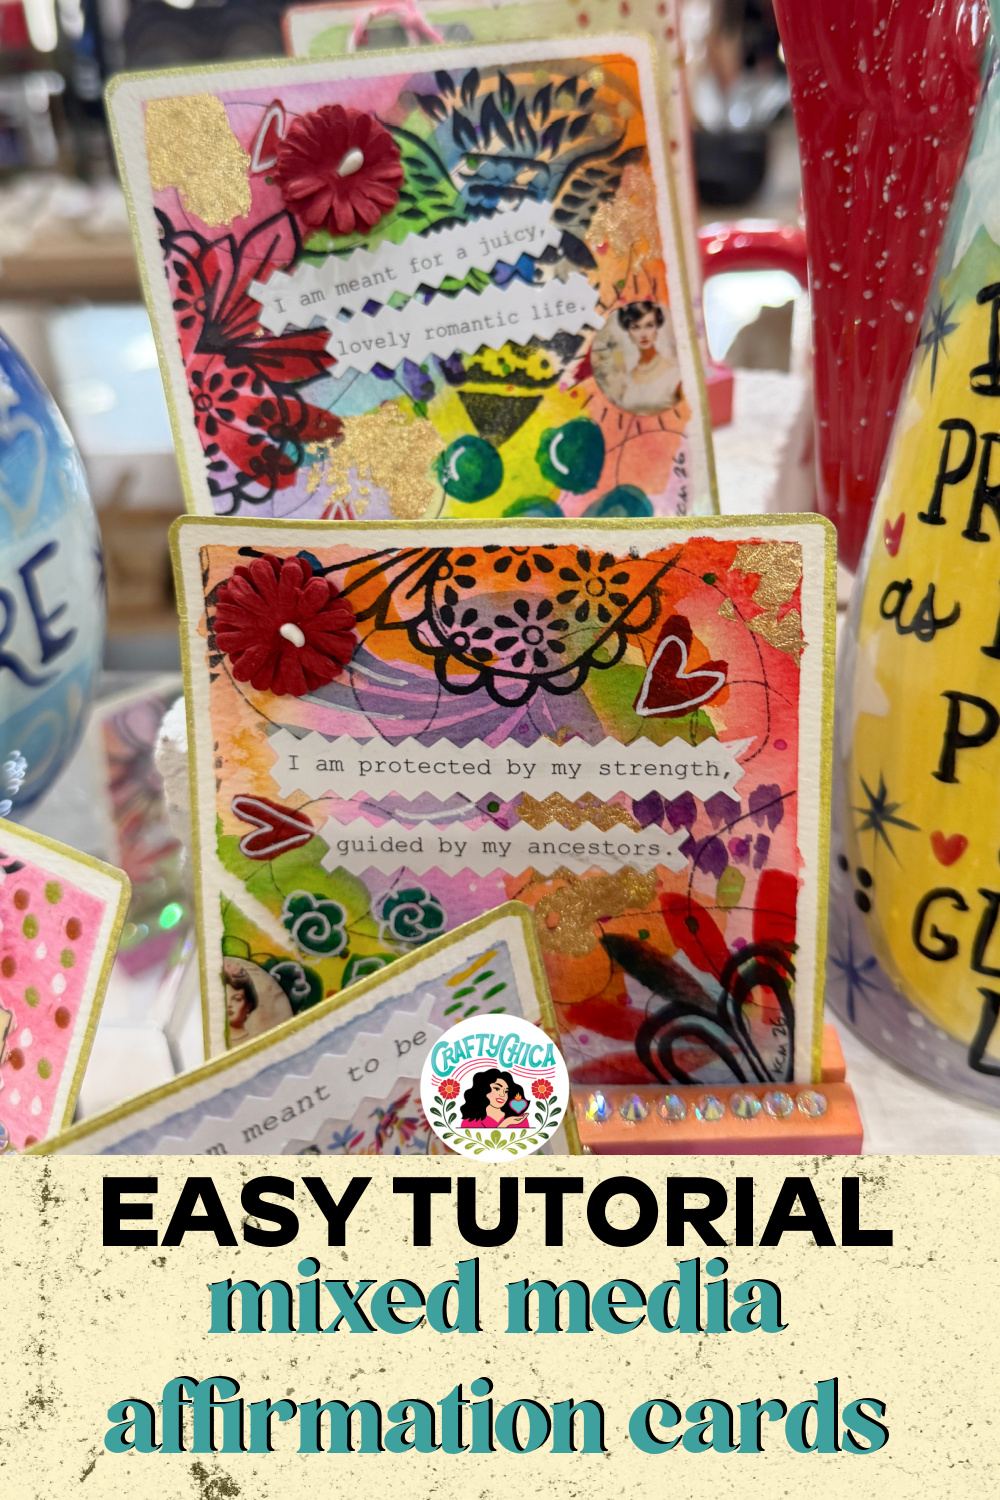
Here is how to transform watercolor paper into glorious affirmation cards to inspire you!
This came about because I had extra watercolor paper. My original intention was to make quick swatches for my junk journal. But then I started stamping, writing, gold leafing – you know how it goes.
Check out my tutorial and make some for you! (I also have mine for sale in my shop)
Supplies for mixed media affirmation cards

Watercolor paper
Watercolors, brushes, cup of water
Crayons, craft paint, paint pens, gold leaf, washi tape.
Skinny masking tape
Affirmations (hand write or print them out)
Collage ephemera
Stamps and ink pads
How to make mixed media affirmation cards
Cut into desired size, I did 4×4″.
Tape off the edges.
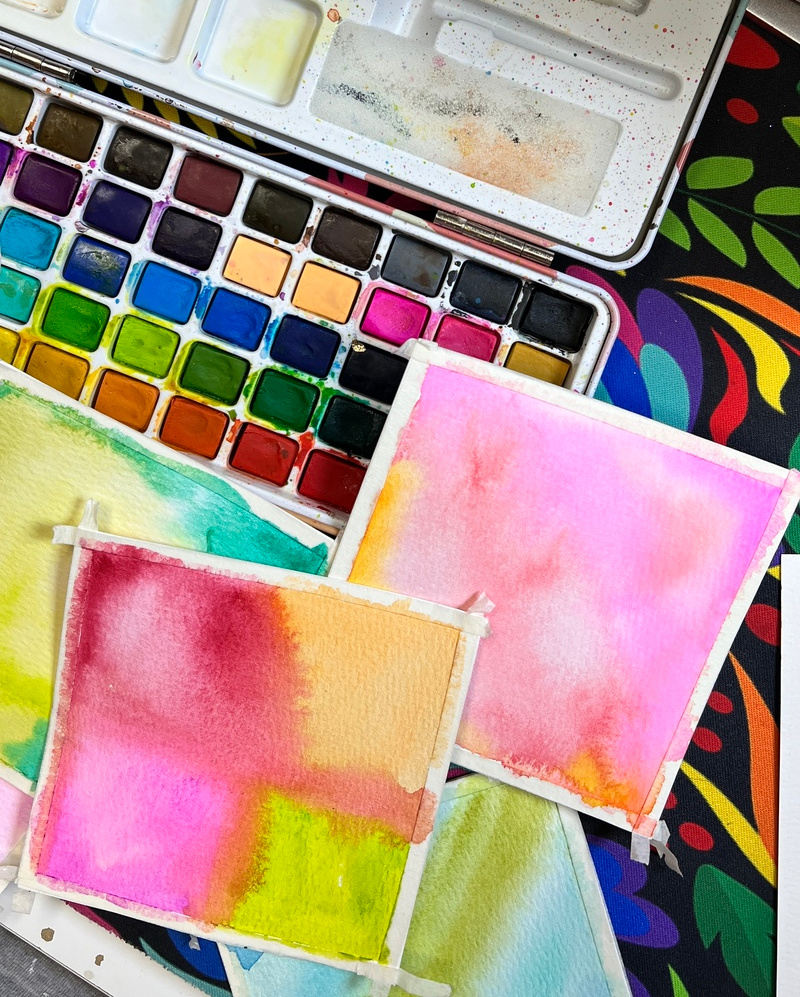
Spray watercolor set with a mist of water. Spray the paper as well and add drops of watercolor in desired colors. If you don’t want it to blend, wait for one layer to dry. Then add more.
Let dry, repeat on the other side.
Add stamped designs, doodle all over the piece.

Glue down an image and an affirmation.
Add golf leaf, glitter, whatever else you wan to bring it to life.
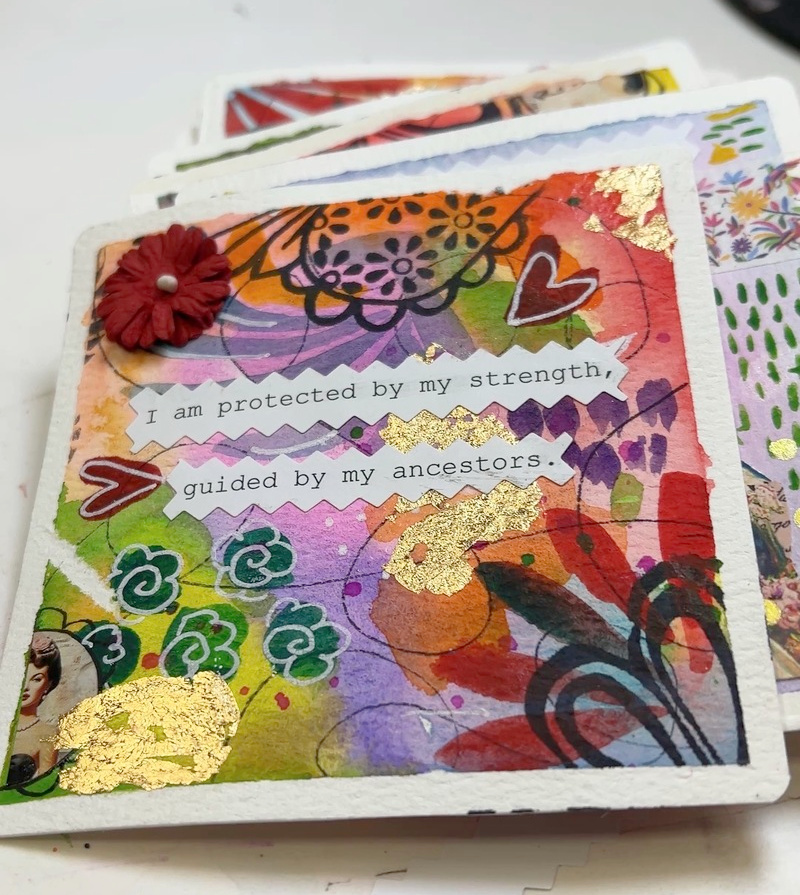
Carefully remove the tape around the edges.
Place between fabric and lightly iron to flatten the cards.
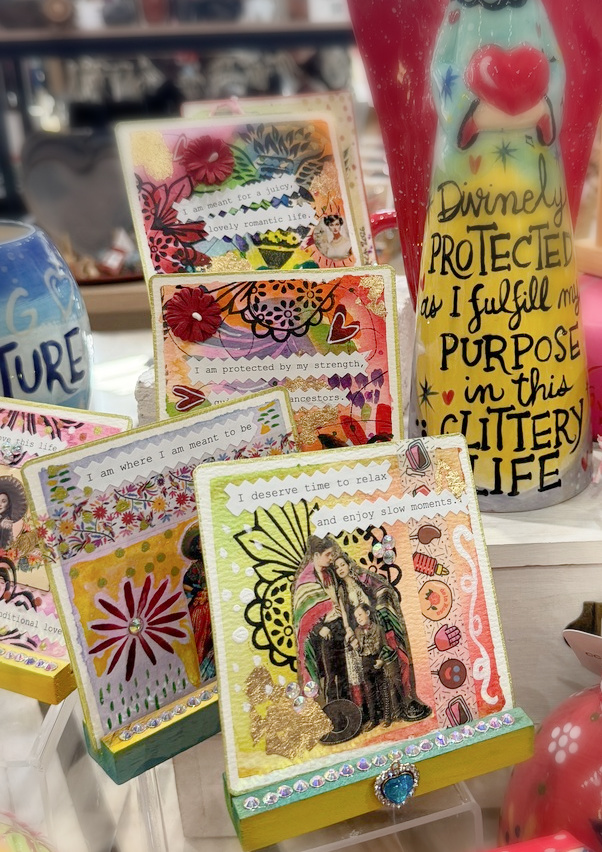
Add any 3D elements, like mini-flowers.

Add any other elements you think it needs. I ended up trimming these with a gold leaf pen.

I have them for sale at Amor Collective or in my online store. I’ll choose one for you!
Tips for making mixed-media affirmation cards
-
Start with a sturdy base. Use watercolor paper, mixed-media paper, or thick cardstock so it can handle paint, glue, and embellishments without warping.
-
Work in layers, not perfection. The magic of mixed media is building slowly. Paint first, then stamp, then collage, then details. Let it feel organic.
-
Choose affirmations that feel true. Pick words that resonate now, not ones you think you “should” use. Powerful affirmations come from honesty. I wrote mine in Google docs and simply printed them out and cut them up. Doesn’t have to be fancy.
-
Use scraps like treasure. Old book pages, magazine bits, tissue paper, painted leftovers, and packaging all add texture and story.
-
Limit your color palette. Pick 3-5 colors and repeat them throughout the card so it feels cohesive, even with lots of layers.
-
Add texture on purpose. Stencils, stamps, hand-drawn marks, scribbles, and dry-brushing bring depth and keep the card visually interesting.
-
Let paint peek through. Don’t cover everything. Those little glimpses of earlier layers make the piece feel rich and lived-in.
-
Anchor the words. Place your affirmation where the eye naturally lands, and give it breathing room so it feels intentional and powerful. I put in the center, sometimes angled, but easy to see and read.
-
Mix soft and bold elements. Pair delicate florals or paper with strong brushstrokes, gold accents, or graphic shapes for balance.
-
Use dimension sparingly. Flowers, gems, or raised details are beautiful, but a little goes a long way. Especially if the cards will be displayed or mailed.
-
Trust your intuition. If something feels finished, it probably is. Mixed media is about feeling the vibe, not following rules.
-
Seal if needed. A light spray sealer or clear medium can protect delicate layers, especially if the card will be handled often.
-
Make it meaningful, not matchy. Each card doesn’t need to look like the others. Let every affirmation have its own personality.
RELATED:
Pineapple Monoprint: Gelli Plate Tutorial
How to play Vision Board Bingo
What is an journal ecosystem – do you need one?

Trending Products

Scrapbook Tape, Double Sided Tape R...

Glue Point Clear Balloon Glue Remov...

Craft Knife Hobby Precision Knife S...

40 Rolls Washi Tape Set – 15 ...

Glue Dots, Craft Dots Dot N’ ...

Fiskars Sewing Kit, Gifts for Mom, ...

Wikki Stix for Doodlers – Kid...

Arts & Crafts Supplies Kits &#...

5 Pcs Pattern Tracing Stylus, Ball ...